 Save
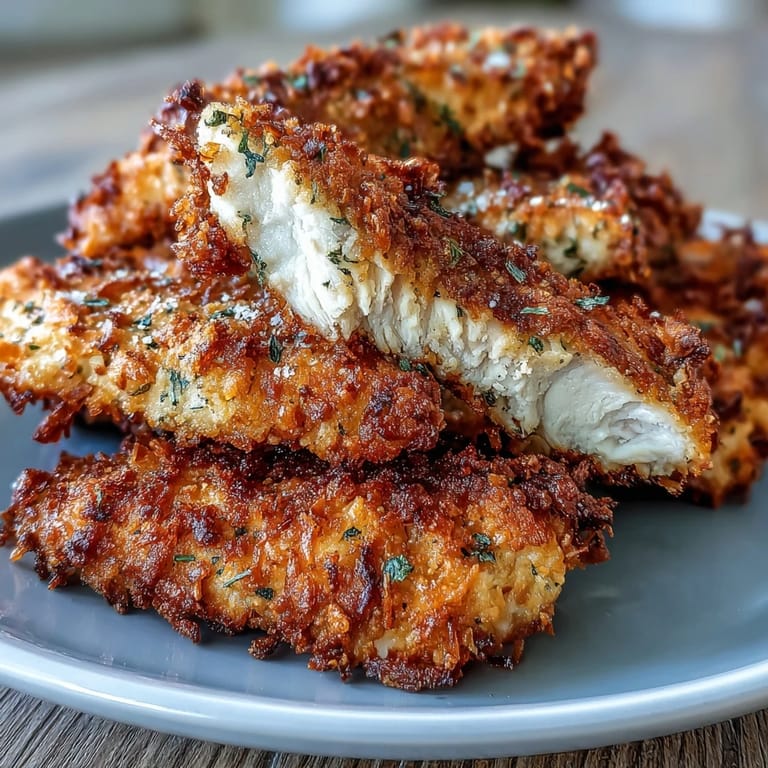
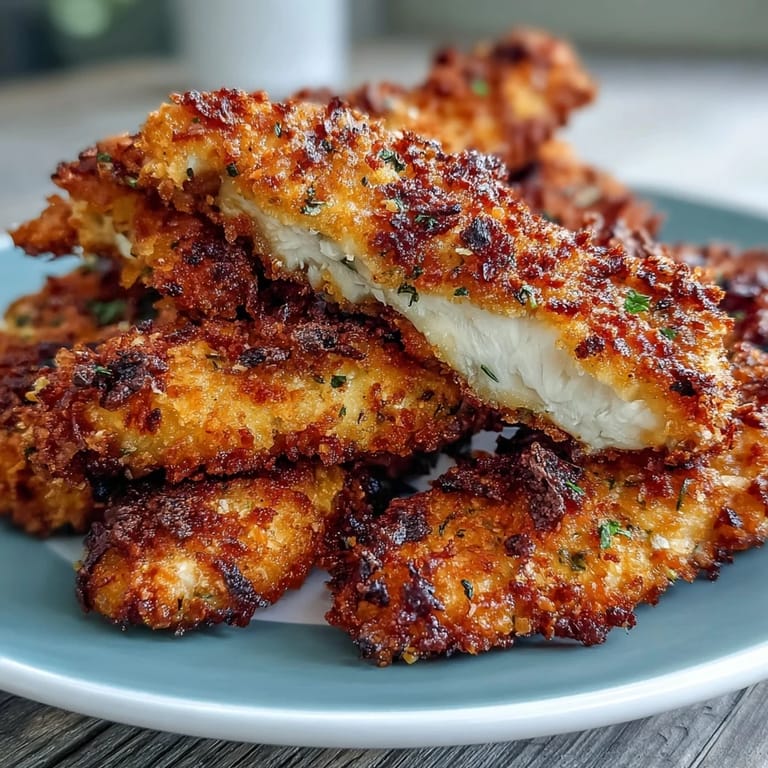
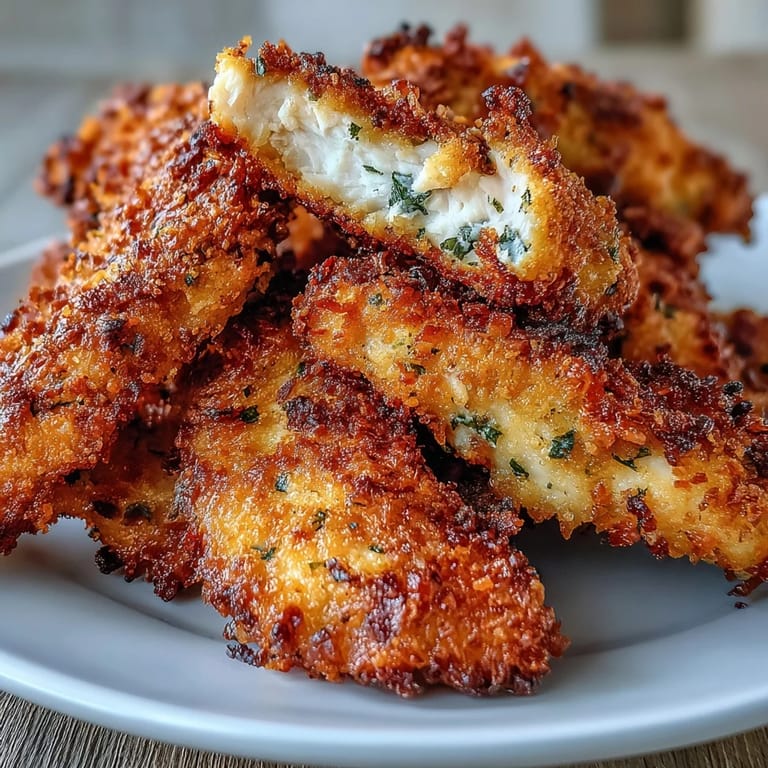
Save My daughter came home from school asking why her lunchbox chicken never stayed crispy like the ones from the cafeteria, and I realized I'd been overthinking it for years. That afternoon, I pulled out panko, ranch seasoning, and eggs, and something clicked—the combination of crispy coating with savory ranch flavor felt like cheating in the best way. Twenty minutes in a hot oven later, we were both biting into golden, crunchy tenders that somehow stayed juicy inside, and she declared them better than anything she'd ever had in a plastic container.
I made these for a potluck last spring where everyone brought something complicated, and I almost didn't mention they were oven-baked because I figured people would assume they came from a fryer. When someone asked for the recipe mid-bite, I felt oddly proud saying "just panko and ranch"—it's those simple moments when you realize technique matters more than an ingredient list.
Ingredients
- Chicken tenders: The thinner, more tender cut cooks faster and stays juicy better than trying to pound down chicken breasts yourself, though honest work that is if you're willing to do it.
- Panko breadcrumbs: Coarser than regular breadcrumbs, they trap air and stay crunchier—this is where the textural magic happens, so don't skip it for standard crumbs.
- Ranch seasoning mix: One packet does the seasoning heavy lifting, though you can absolutely mix your own with dried dill, chives, garlic, and onion powder if you want to skip the packet.
- Paprika: Adds color and a subtle warmth that makes the coating look restaurant-worthy without changing the flavor profile.
- Eggs and milk: The egg acts as the glue, and milk thins it just enough to coat evenly without thick, doughy clumps.
- Cooking spray or olive oil: Essential for crisping—the top side especially needs fat to develop that golden exterior.
Tired of Takeout? 🥡
Get 10 meals you can make faster than delivery arrives. Seriously.
One email. No spam. Unsubscribe anytime.
Instructions
- Set your stage:
- Preheat the oven to 425°F and line a baking sheet with parchment paper, then top it with a wire rack and spray lightly. This setup is non-negotiable because it lets hot air circulate underneath, crisping every surface instead of steaming the bottom.
- Mix your batters:
- Whisk eggs with milk in one shallow bowl until smooth, then combine panko, ranch seasoning, paprika, pepper, and garlic powder in another. Having these ready means you'll move through the coating step efficiently without chicken sitting around getting clammy.
- Dry and dip:
- Pat chicken tenders completely dry with paper towels—moisture is the enemy of crispiness. Dip each tender into the egg mixture, let excess drip off, then roll generously in the panko coating, pressing gently so it adheres without compacting.
- Arrange and spray:
- Space coated tenders on the rack with breathing room between them, then spray or drizzle the tops with cooking spray or olive oil. This top coating is what gives you that golden-brown finish, so don't skip it out of oil consciousness.
- Bake and flip:
- Bake at 425°F for 18–22 minutes, flipping halfway through so both sides brown evenly and the chicken cooks through. You're looking for golden exterior and an internal temperature of 165°F—if you have an instant-read thermometer, use it to take the guesswork out.
- Rest and serve:
- Let them rest for a minute or two straight out of the oven so the coating sets, then serve hot with whatever dipping sauce you're craving.
 Save
Save My neighbor knocked on the door one evening because the smell of these baking had drifted over, and suddenly I was plating extras for her family too. It's funny how the simplest dishes sometimes become the ones that bring people together, even across property lines.
Temperature Is Your Friend
I learned the hard way that 400°F isn't quite hot enough—it bakes the chicken through but doesn't develop that crucial golden crust. The 425°F recommendation here exists because that heat level crisps the panko in the time it takes chicken to cook through, which is the entire game. If your oven runs cold, you might need to go a couple minutes longer, so getting familiar with how your oven behaves over time makes a difference.
Coating Thickness Matters
When I press the panko coating into place, I'm thinking about creating a layer that's thick enough to crunch but not so thick that it becomes a shell separate from the chicken. There's a rhythm to it—gentle pressing that secures the coating without compacting it into a dense crust. The coating should look visibly textured and slightly lumpy, which is how you know it'll fry up crispy instead of turning into a tight, chewy shell.
Customization and Storage
I've added cayenne pepper for heat, Italian seasoning for a different vibe, and even a pinch of smoked paprika just to see what would happen. The beautiful thing about this recipe is how flexible the coating base is once you commit to the panko and egg system. After baking, they keep in an airtight container for three days, and you can reheat them at 375°F for about 8 minutes if you want them crispy again instead of eating them cold.
- Swap ranch seasoning for Italian, garlic herb, or even taco seasoning if you're feeling adventurous.
- Double the batch and freeze unbaked tenders on a sheet, then bake straight from frozen with an extra 5 minutes.
- Leftover panko coating mix keeps in a sealed jar for weeks, ready for your next craving.
 Save
Save These tenders prove that the best recipes are often the simplest ones—no fancy techniques, no weird ingredients, just the right combination of things that genuinely belong together. Once you nail this one, it becomes a default you return to when you need something reliable and genuinely delicious.
Recipe FAQs
- → Can I use chicken breasts instead of tenders?
Yes, simply slice chicken breasts into even strips about 1-inch wide. Pound slightly to uniform thickness for even cooking.
- → How do I store leftovers?
Refrigerate in an airtight container for up to 3 days. Reheat in a 400°F oven for 10 minutes to restore crispiness. Avoid microwaving as they'll become soggy.
- → Can I make these gluten-free?
Absolutely. Use certified gluten-free panko breadcrumbs and verify your ranch seasoning mix is gluten-free. Many brands offer GF alternatives that work perfectly.
- → Why use a wire rack?
The wire rack allows hot air to circulate underneath, ensuring the bottom gets equally crispy. It also lets excess oil drip away for a lighter, less greasy result.
- → What dipping sauces work best?
Honey mustard, BBQ sauce, extra ranch, or honey garlic glaze are classic choices. The mild ranch seasoning pairs well with both sweet and tangy dips.