 Save
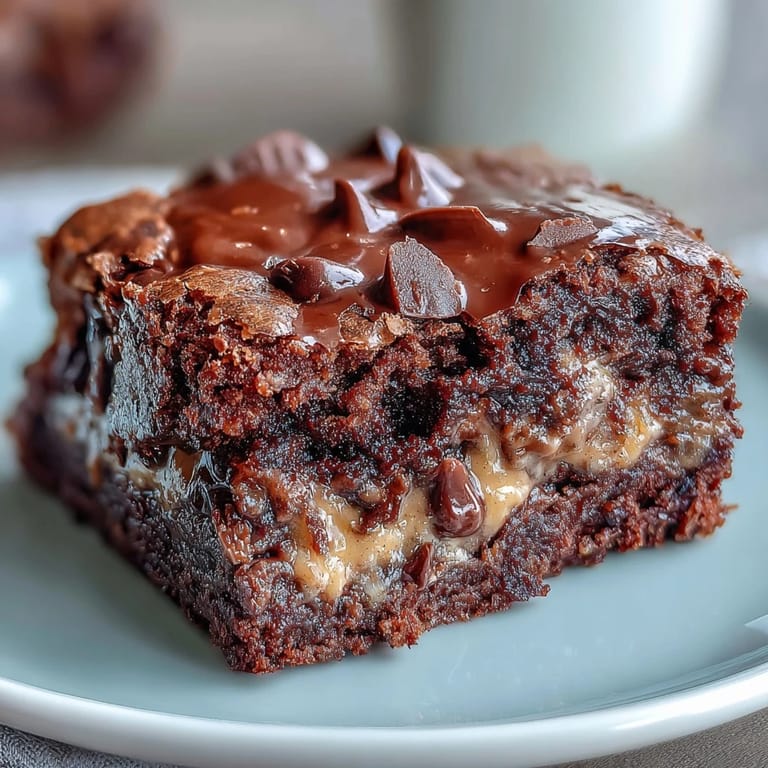
Save The first time I made this dump cake, I had been scrolling through recipes at midnight, craving something ridiculous and chocolatey that wouldn't require measuring more than five things. My roommate walked into the kitchen, sniffed the air, and asked if I was making brownies. When I told her it was a dump cake with peanut butter cups baked inside, she abandoned her diet plans so fast it made my head spin. We ate it warm from the oven with vanilla ice cream pooling into all those melted chocolate pockets, and honestly, that late night baking session became a weekly tradition for months.
Last summer, I brought this to a potluck without even mentioning what was in it. Within fifteen minutes, three different people had tracked me down to demand the recipe, and someone actually said they would trade their famous mac and cheese recipe for it. Watching the kids discover the melted peanut butter cups in their slices was pretty much the highlight of my whole summer.
Ingredients
- Devils food chocolate cake mix: This creates the deepest chocolate flavor that holds up beautifully against all that peanut butter richness without becoming too sweet
- Creamy peanut butter: Room temperature is crucial here because cold peanut butter will tear and leave ugly gaps in your beautiful layer
- Unsalted butter, melted: Salted butter works fine too, just reduce any added salt in the recipe if you are sensitive to sodium
- Whole milk: I have used oat milk in a pinch and the texture stays amazing if you need to make this dairy free
- Mini peanut butter cups: The mini size distributes more evenly throughout the cake than full sized cups, creating those perfect little bursts in every bite
- Semi sweet chocolate chips: These balance the sweetness of the peanut butter cups and add another texture dimension that takes this over the top
Tired of Takeout? 🥡
Get 10 meals you can make faster than delivery arrives. Seriously.
One email. No spam. Unsubscribe anytime.
Instructions
- Get everything ready:
- Preheat your oven to 350°F and grab a 9x13 inch baking dish, giving it a quick spray with nonstick cooking spray so nothing sticks later
- Spread the peanut butter love:
- Drop your room temperature peanut butter into the bottom of the dish and spread it into an even layer with the back of a spoon, taking your time to make it as uniform as possible
- Whisk up the batter:
- In a large bowl, dump in the cake mix, melted butter, and milk, then whisk until mostly combined because those tiny lumps will disappear during baking anyway
- Layer it up:
- Pour the chocolate batter right over the peanut butter layer, resist the urge to swirl them together because the magic happens in the oven
- Add the topping:
- Scatter those mini peanut butter cups and chocolate chips across the top like you are tucking them in for a cozy nap
- Bake until bubbly:
- Slide it into the oven for 35 to 40 minutes until the cake is set and a toothpick comes out with just a few moist crumbs attached
- The hardest part:
- Let it cool for at least 15 minutes because cutting into this too soon will give you a delicious but messy puddle instead of those gorgeous clean slices everyone loves
 Save
Save My mom called me the day after I finally shared this recipe with her, sounding like she had just discovered a secret bakery in her own kitchen. She said she had to make it twice in one week because my dad finished the first one before she could even get a proper photo for her recipe collection.
Make It Your Own
One rainy Sunday, I found myself completely out of mini peanut butter cups but had a bag of chopped peanut butter cups from Halloween. The irregular chunks created this amazing variety of chocolate to peanut butter ratios in each bite, and honestly, I sometimes buy the chopped ones on purpose now. You can also swap in almond butter if you are feeling fancy or need to accommodate a peanut allergy in your crowd, though the flavor profile shifts to something more sophisticated and nutty.
Serving Suggestions
My favorite way to serve this has become warm with a scoop of vanilla bean ice cream that melts into all the crevices and creates this incredible creamy chocolate situation. For dinner parties, I like to dust it with powdered sugar right before serving because it looks so impressive and hides any imperfections in the top layer. If you are feeling extra indulgent, a drizzle of warm salted caramel sauce takes this from amazing to absolutely unforgettable.
Storage and Make Ahead Tips
This cake actually develops deeper flavor on day two as the peanut butter seeps further into the chocolate cake, making it an excellent make ahead option for parties. Cover it tightly at room temperature for up to two days, though I rarely have it last longer than twelve hours in my house. The texture shifts from gooey to dense and fudgy when refrigerated, which some people in my family actually prefer.
- Wrap individual slices in plastic wrap and freeze for up to three months, then microwave for thirty seconds for emergency dessert
- If you know you are taking this somewhere, bake it in a disposable foil pan so you do not have to worry about getting your dish back
- The top can get slightly soft if stored covered too long, so a quick ten minute refresh in the oven at 350°F brings back that beautiful contrast between crisp top and gooey interior
 Save
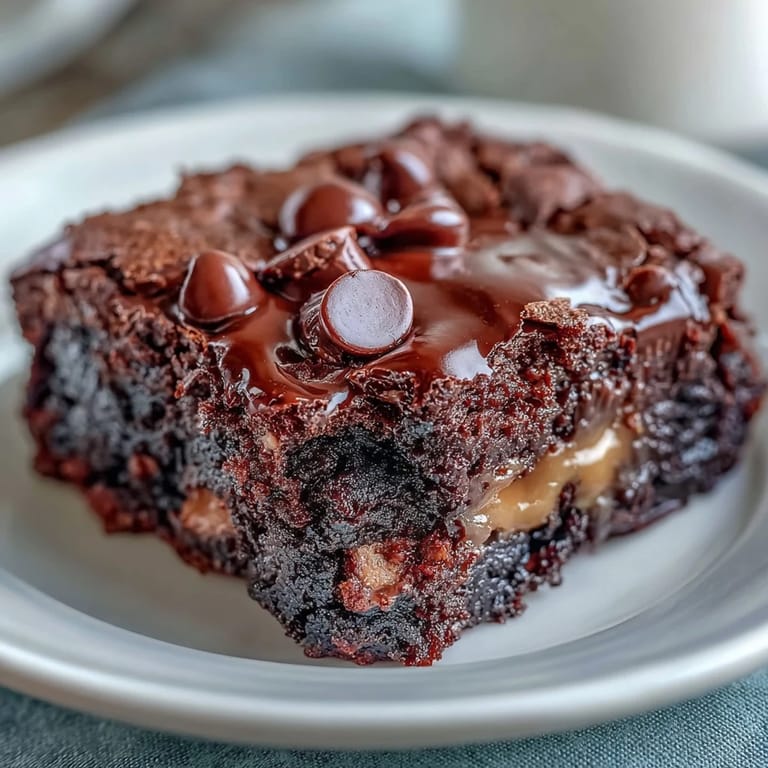
Save There is something almost magical about a dessert that looks this impressive but requires absolutely zero special skills or techniques. Every time I pull this bubbling beauty out of the oven, I am reminded that sometimes the simplest recipes bring the most joy.
Recipe FAQs
- → Can I make this dump cake ahead of time?
Yes, you can prepare the batter up to 24 hours in advance and store it covered in the refrigerator. Bake when ready to serve, adding a few extra minutes to the baking time if the batter is cold.
- → What's the best way to serve this dessert?
Serve warm for the gooeyest texture, ideally within 15-20 minutes of baking. A scoop of vanilla ice cream complements the warm chocolate and peanut butter flavors perfectly.
- → Can I use natural peanut butter instead of creamy?
Creamy peanut butter works best as it spreads evenly and creates a smoother layer. Natural peanut butter with oil separation may result in a less consistent texture, though it will still taste delicious.
- → How do I know when the dump cake is done baking?
Insert a toothpick into the center - it should come out with moist crumbs but not wet batter. The edges should be slightly pulled away from the pan, and the top should be set with melted chocolate.
- → Can I freeze leftovers?
Yes, wrap individual portions tightly in plastic wrap and freeze for up to 3 months. Thaw overnight in the refrigerator and reheat in the microwave for 30-60 seconds for that fresh-baked taste.
- → What if I don't have a 9x13-inch pan?
You can use two 8-inch square pans or a 10-inch cast iron skillet. Adjust baking time slightly - smaller pans may need 5-10 minutes more, while the skillet might cook faster.